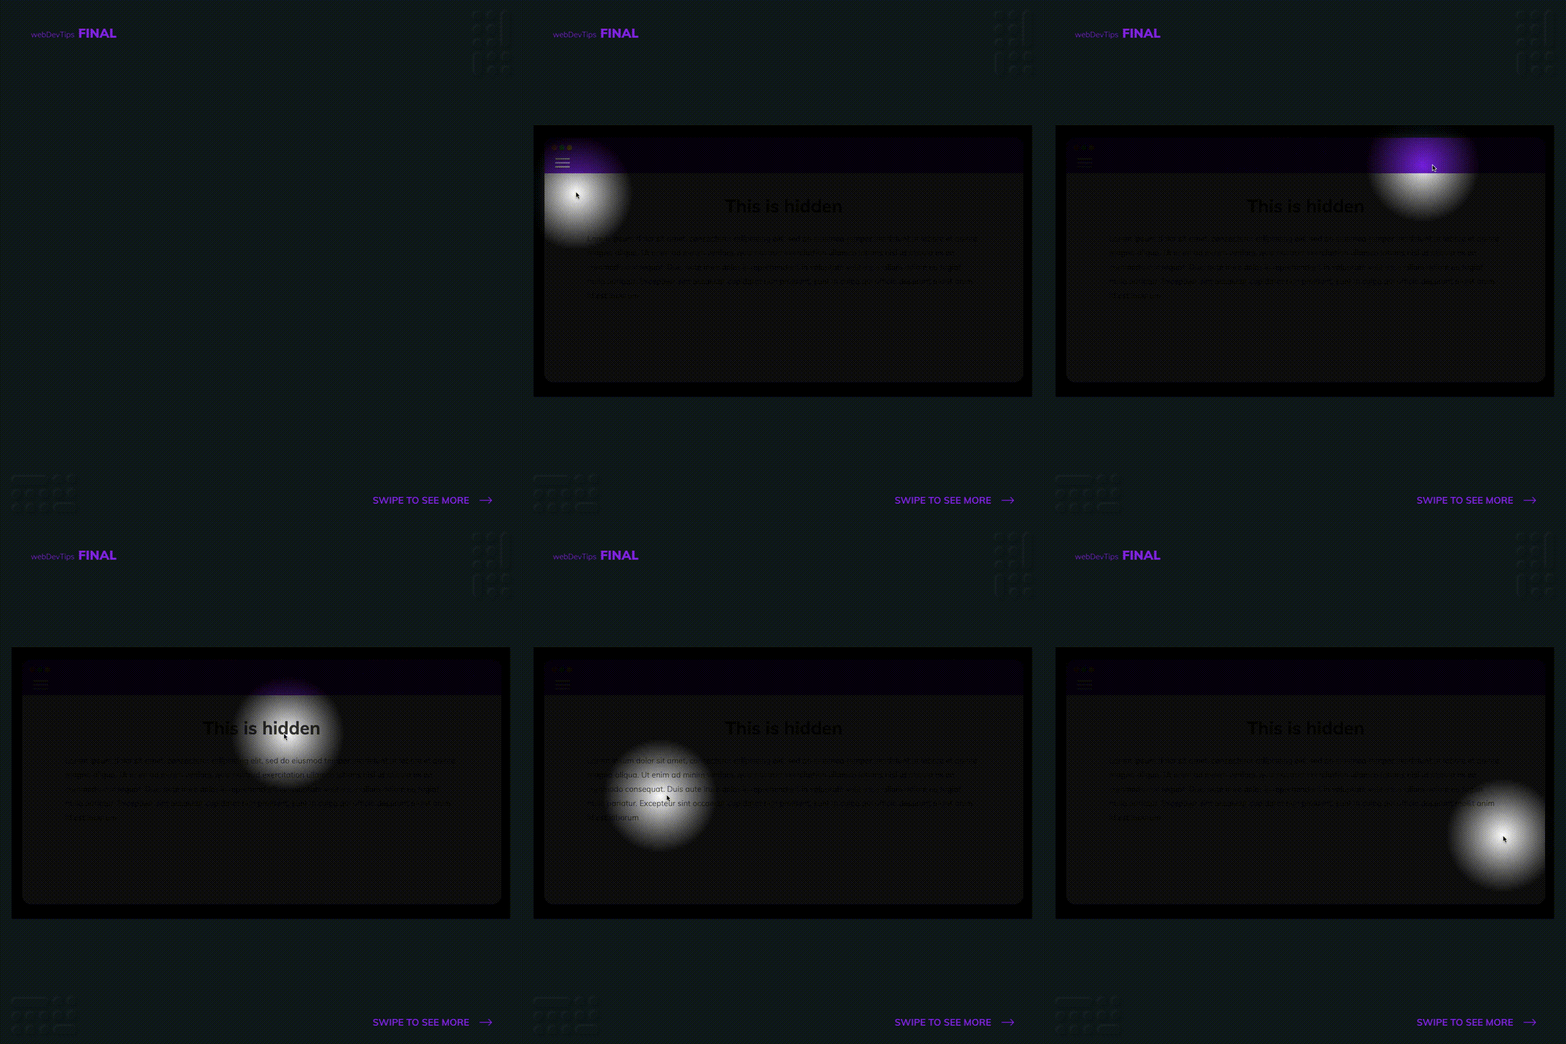
Awesome flashlight effect with a few lines of CSS & JS

Hey guys, happy Monday! 🤓
For today's tip we'll check this awesome flashlight effect with just some lines of CSS and JavaScript!
<div class="navbar">
  <div class="hamburguer">
    <span></span>
    <span></span>
    <span></span>
  </div>
</div>

<h1>This is hidden</h1>

<p>
  Lorem ipsum dolor...
</p>
We'll create the actual light with a radial-gradient on the root element. But since we want this to be dynamic and to move around with the cursor, we'll use some CSS variables to set the X and Y position for our light circle.
.navbar {
  position: absolute;
  top: 0;
  left: 0;
  right: 0;
  height: 5rem;
  background-color: #8125e2;
  padding: 2.5rem 1.5rem;
}

.hamburguer span {
  display: block;
  width: 33px;
  height: 3px;
  margin-top: 6px;
  border-radius: 20px;
  background-color: #fff;
}

h1 {
  text-align: center;
  color: #424242;
  font-size: 2.5rem;
}

p {
  margin-top: 2rem;
  color: #616161;
  font-weight: 300;
  font-size: 1.1rem;
  line-height: 2rem;
}

:root {
  cursor: none;
  --cursorXPos: 50vw;
  --cursorYPos: 50vh;
}
:root:before {
  content: '';
  width: 100%;
  height: 100%;
  position: fixed;
  background: radial-gradient(
    circle 8rem at var(--cursorXPos) var(--cursorYPos),
    rgba(0, 0, 0, 0) 0%,
    rgba(0, 0, 0, 0.95) 100%
  );
  z-index: 11;
}
Then, with Javascript we will add a 'mousemove' event listener on our document that will update these CSS variables so they have the current position of our cursor.
function trackMouse(event) {
  document.documentElement.style.setProperty(
    '--cursorXPos',
    `${event.clientX}px`
  )
  document.documentElement.style.setProperty(
    '--cursorYPos',
    `${event.clientY}px`
  )
}

document.addEventListener('mousemove', trackMouse)
And that's basically it! Let me know your thoughts on this tip 👌🙏